GigCX Internet Check
A step-by-step guide to downloading the BCS utility and running the GigCX Internet Check test.
Before You Begin
Make sure you have the following before starting:
- A Windows or Mac computer (Linux and mobile devices are not currently supported).
- Administrator access on your computer (required on Windows to run the BCS utility).
- A stable internet connection.
Open the Internet Check Dialog
When you launch the GigCX Internet Check, you will see the dialog shown below. This is your starting point.
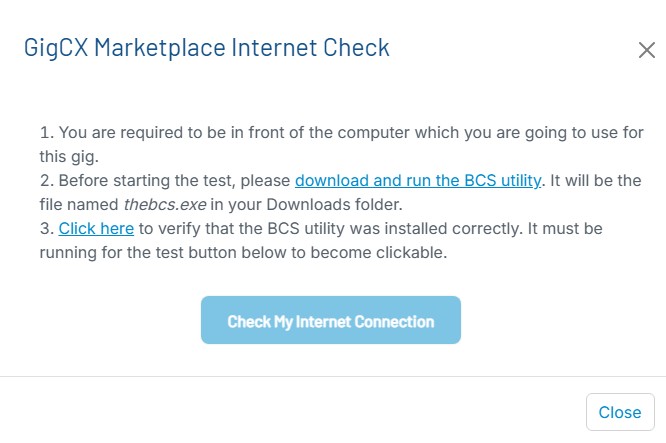
Notice that the Check My Internet Connection button is grayed out (light blue) and cannot be clicked yet. This button only becomes active after the BCS utility is downloaded and running on your computer.
Download and Run the BCS Utility
In the dialog from Step 1, click the download and run the BCS utility link. This will automatically download the correct version for your operating system.
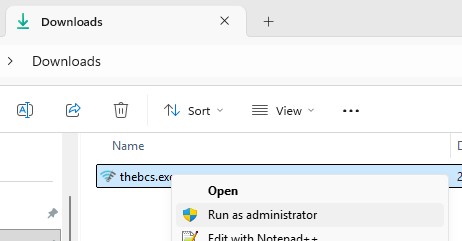
Windows
- Open your Downloads folder and locate thebcs.exe.
- Right-click thebcs.exe and select Run as administrator (see image below).
Mac
Open the downloaded BCS file from your Downloads folder.
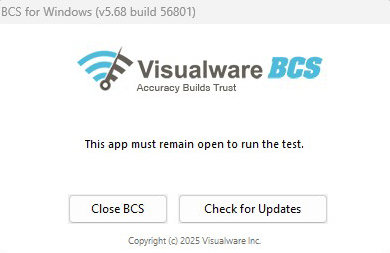
Confirm the BCS Is Running
Once launched, you should see the BCS window shown below. Keep this window open for the entire duration of the test, closing it will disable the test button.
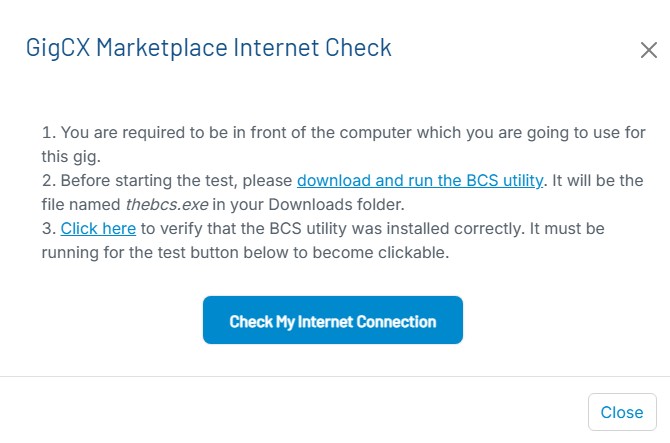
Run the Internet Check Test
Return to the GigCX dialog in your browser. The Check My Internet Connection button should now be enabled (it changes from light blue to a darker blue). Click the button to start the test.
The test will run automatically. Keep both the BCS utility and the browser window open until the test completes.
Troubleshooting
The button stays disabled after launching the BCS
If the Check My Internet Connection button does not change from light blue to darker blue after launching the BCS:
- Close the GigCX Internet Check dialog in your browser.
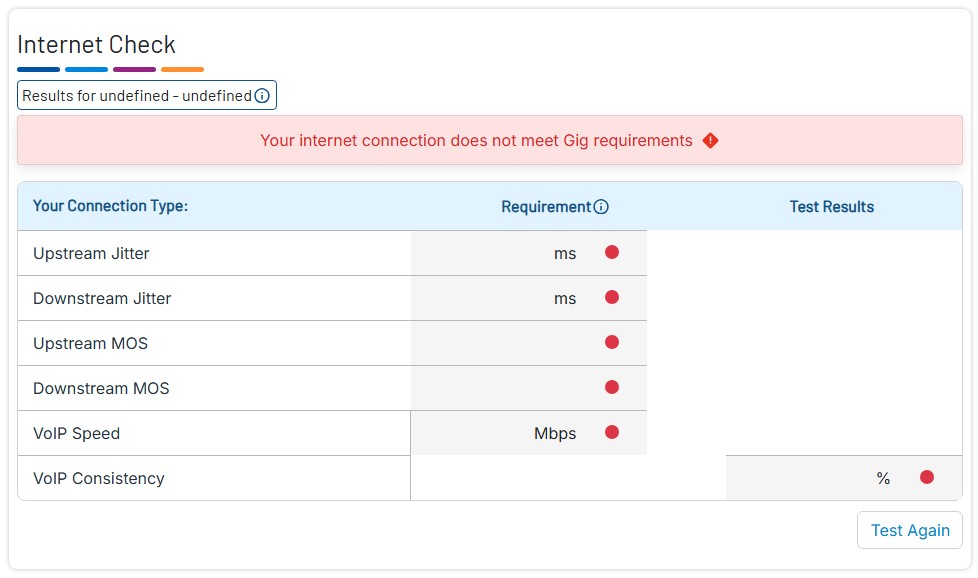
- Click the Test Again button (shown below) to reopen the dialog.
- Wait a few seconds for the dialog to detect the BCS.
The button was enabled but has become disabled again
This means the BCS utility was closed or has stopped running. Reopen thebcs.exe (as administrator on Windows) and use the Test Again button to retry.
Still having issues?
If the test will not run after following the steps above, please contact our support team for further assistance.